
Most of you have figured out I am a color freak with an obsession
for turquoise, red and cobalt blue.
However,
I also obsess about the beautiful neutral tones of natural muslin and old book pages.
Especially book pages! Christmas is no exception.

Here is my bakers rack decked out in more book page covered decor than you can shake a stick at.
I love the pages with the grey boards and the white milk glass!
And below you can see a sweet ruffled muslin garland with a mini star
book page garland, plus book page rosettes and book page covered balls,
stars and even a pedestal cake stand.

I will cover practically anything in Mod Podge and old book pages. This way my old beloved books live on in my decor. I also make as much paper art as I can with book pages.
Per request, I am showing you the big stars covered with book pages in this post.
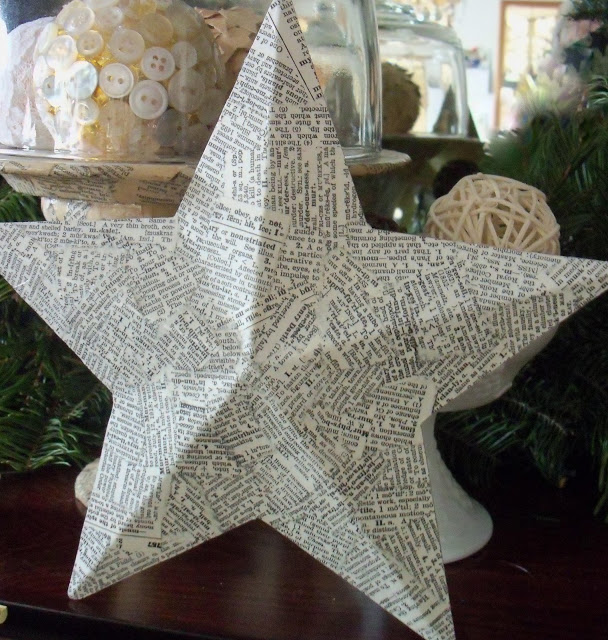
I just love how they come out!!

This is an example of the cardboard star patterns I found online.
There are oodles I tell ya. LOTS. Google is your friend in this.

I like the old dictionaries with dense printing for these projects. I've used clean cut pieces with straight lines for this project plus loads of Mod Podge.
Simple and FAST, folks.
Once dry, sand the edge paper off with a nail file. Spray with clear acrylic to seal.

Book page stars and Christmas balls, oh my!!
There is no end of ideas using book pages and Mod Podge.
Including the display stand made of a sundae glass, ceramic plate and book pages!
And pinwheels and stars and, of course, book page stars.
Sometimes, even for me, a restful neutral look is just what I need during this busy season.

Merry Christmas, friends. Make it a good one!


