
By special and numerous requests, here you are, the tutorial for my glass garden balls ....originally posted in 2013!

My blog header shows my love of cobalt blue glass
and I've added that love of blue glass to my garden art.

Years ago my family got me a big blue gazing ball for my
daisy flowerbed and I knew I wanted more, more, more!
But hey, those gazing balls are not cheap and they are surprisingly fragile.
Basically they are just giant glass Christmas balls.
And they break if they fall over.What to do?

My first idea involved a bowling ball and lots of glass half marbles from the Dollar Store.
I got this idea from the Garden Junk forum over at Garden Web.
I used Silicone II adhesive and did a bit at a time, only glueing the gems
on top and let the adhesive dry a bit the turning the ball and doing another little area.
If you try to do the sides the gems will fall off before the adhesive sticks well, so slowly slowly.
I LOVE how this came out!!!
The bowling ball cost me $4 at a thrift store and I used about 6 bags of glass marbles.
The Silicone II cost $4.
My first blue glass garden ball for about $14. I was hooked!

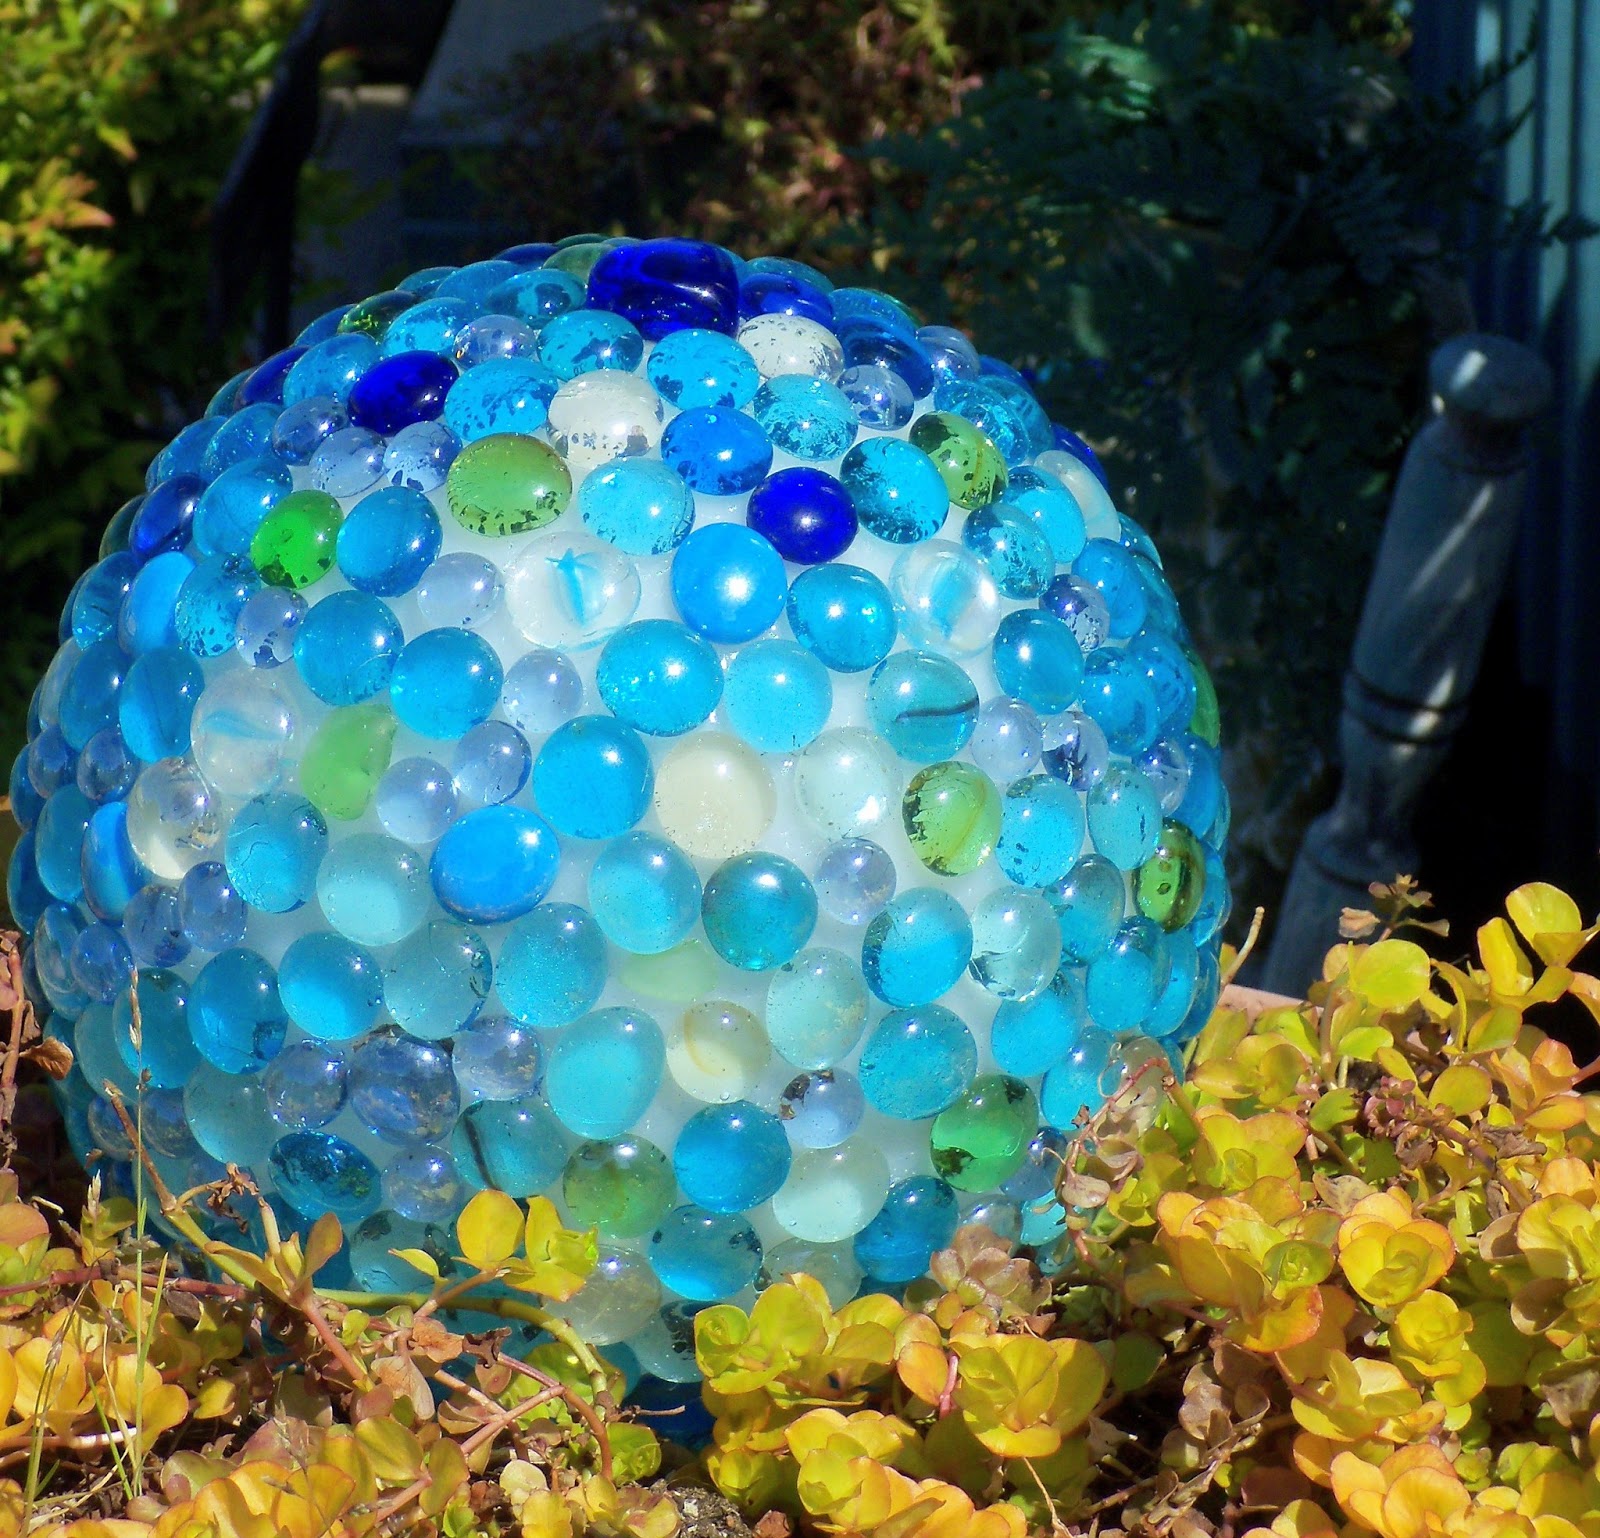
I snagged this round glass light fixture for 25 cents and knew it would be my next ball project.
Dollar Store half marbles and garage sale finds gave me the blue glass I needed.
I decided to go with this Amazing Goop silicone adhesive because it was CHEAP.
It is basically the same formula as the Silicone II. The total cost on this
pretty ball is less than $10.

This is definitely an OUTSIDE project since all the glues I've mentioned are incredibly smelly.
Even outside I have a fan blowing across my work area to avoid the fumes.
I settled on my front porch and started gluing. Put a small blob of glue on each
individual marble, you do not have to goop it on. Smear a layer on the topmost
area of your big ball and put your marble in place.
I twist them a bit to make sure they stick together.

IMPORTANT!

IMPORTANT!
The adhesive does not set up instantly so you will have to do small areas
of your ball and let it dry for several hours then turn it over to do
the other sides. If you go too fast and skip this step you'll have
glass marbles falling off all over the place!
In this project patience will reward you with a beautiful art piece.

And done!!

Here she is (of course she's a lady! LOL!) nestled in a soft bed of creeping Jenny.

And done!!

Here she is (of course she's a lady! LOL!) nestled in a soft bed of creeping Jenny.
A hot pink petunia will join her soon.
I love the bright blue glass against my blue deck railings and house color.

Oooh ahhh!

And here is the first bowling ball I did 20 years ago!
Oooh ahhh!

She's looking pretty good for her years.
Since then I have glued glass gems to lamp gloves, plastic Christmas balls,
styrofoam craft balls, soft balls, plastic balls from Dollar Tree and even a hampster ball!
I am always looking for more round balls to decorate for my garden!


