Showing posts with label turquoise decor. Show all posts

Sunday, February 12, 2017

Painted Area Rug Part 2

I used acrylic craft paint, textile medium and stencils to paint this half moon area rug on my carpet.
I really like how the colors and the stencils worked so well together!

Here's a link....


I'm kind of a color junkie so this is right up my alley. Exhibit One, here's 
the coffee table I repainted with chalk paint a couple summers ago...


I knew I'd like it as soon as I started using this stencil to put the 
turquoise curlicues on the brown and red background.


My original plan was a 2" wide turquoise border around the whole arch. Then, as I was painting it I had an "oops" moment when the bright blue paint escaped the painters tape.

Well, drat. 

So, this is how I dealt with it...by using the same curlicue 
stencil to add a sort of doily edge to the turquoise border.


No, it isn't perfectly even but I keep telling myself it has a certain bohemian charm, yes?

And yet I feel like maybe it is a giant floor doily now.

Or not. Hmmmm.


I'm kind of starting to like it.
Sort of.

And yes, I'm staring at it way too much.

.
So I added more stenciled curls in red.

Okay, I'm going to call it good and leave it be.

Also, I'm going to quit staring at it.

Sunday, April 10, 2016

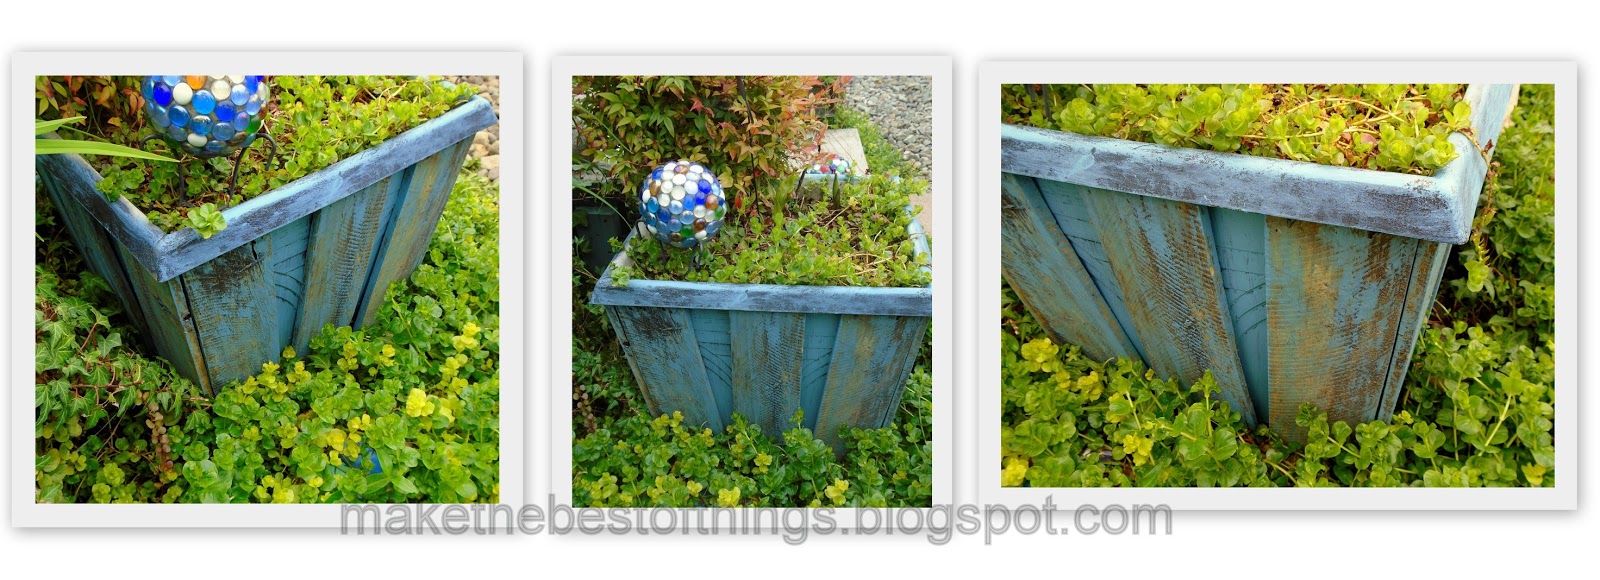
Painted Pallet Boards on Square Planter


I'm always looking for ways to use pallet boards in my garden. 
Since we covered black nursery pots with pallet boards my mind has been spinning!


I figured if pallet boards can make black pots look good,
 how about the other planters in my yard?

Here is the before of the kinda grubby square planter by my front steps last summer. 


Last week I painted it with primer then used our house trim color to paint it 
(and almost everything else) turquoise blue.

 I love the blue against all the shades of green and the flowers!

And here is how it looks NOW-


 For this project I drybrushed the turquoise paint on some pallet boards and used
 our handy dandy brad nailer gun to attach them.

You could also use outdoor construction adhesive but we like the
 security and ease of the nail gun.

We didn't even move it from the yard.
 We just rocked it up at an angle and nailed the boards in place.


Oooh!

 I like the whole vintage vibe this gives that plain planter!! It looks like
an old wooden container that has aged for years.


Aged, 
vintage, 
rustic
 and BLUE! 

Exactly my style!


In the future we MIGHT go ahead and cut some pallet boards
 to fit into the triangular spaces.

 But for now I really like the texture and AGE 
the painted boards give to this plain square planter!

Hmmmm, what else can I do with the rest of my pallet boards?


Friday, September 19, 2014

Painted Decor Balls For My Coffee Table

I wrote previously about repainting my vintage/ancient 80s coffee table to coordinate with the new color scheme in my living room. Namely, the addition of turquoise blue. Here's the link....


I knew I wanted something something to put on the newly painted table to draw the eye. After checking out my stash and using a bit of paint I made some new decor for my living room, for FREE! 


I have lots of stuff stored away for projects and I had these resin decor balls in a box. I got them at a thrift store but I still see new ones for sale at Michael's, Ross, Pier 1 and other stores. They were originally a combo of bronze, brown and gold, not what I wanted at all.


Oops! Got a little ahead of the camera action there! I brushed on a scant layer of Apple Barrel acrylic paint in turquoise for this pair.


I totally adore the way the color picks out the detail in these decor balls! I painted the last ball (which was mostly antiqued gold) with Apple Barrel bright red. Then I wiped off some of the color on all three balls while the paint was still wet. This gave me the vintage vibe I was going for.


And last, to make them look even more aged, I finished them with a top coat of Poly Shades in classic oak. This is a stain and sealer in one and it adds just the right amber glow to these decor balls. Use this in a well ventilated space per the label instructions!


 I always buy footed wooden bowls whenever I find them at thrift stores or yard sales, so I knew I had this perfect container for my new old decor balls. I dry brushed the wood with more turquoise paint and wiped it off for a vintage look. Then I sealed it with the Polyshades. I LOVE how it makes the painted piece look instantly old!
Although it would be nice to go out and spend lots of dollars to get a new look in my home, I usually end up doing just this...changing up my decor with paint and stain and things I already have. And the best part? I can do it again and again and it is FREE!


 Ooooh aaaaah!

If I ever decide to go all white with my decor I know I can redo this table and these balls for a bit of decor punch. I love that! Join me at these fun linky parties. You'll find some very cool things!

                            http://www.funkyjunkinteriors.net/2014/09/salvaged-old-signs.html

Book Page Christmas DIY

Most of you have figured out I am a color freak with an obsession  for turquoise, red and cobalt blue.  However, I also obsess about ...