When we moved from our mountain side to our new home a year ago, the Mountain Man saved a few of our many wind chimes and brought them with us. I thought I would buy new wind chimes for our new yard but the prices shocked me!
So, you know how I roll; I told him I was ready to take a look at repairing the old ones and he gave me this "wind chime stew" in an old canning kettle. (A wonderfully dented, chippy, rusty and blue enamel canning kettle which would look great holding a big bushy lavender plant and maybe some cascading petunias and alyssum....ahem, I digress. )

Whoa. What is in there? I see parts of four wind chimes! I sort of wondered if I'd really be able to salvage four complete sets out of this smorgasbord.

Here is my wind chime rescue kit...four and six pound clear fishing line, plastic beads, a yarn needle, split rings from 1/4" to 1", plastic rings, scissors, jewelry pliers, wire cutters and needle nose pliers.
Just a note-Light fly fishing line is also excellent for wind chime repair and it is not expensive. It is very similar to the cord used in commercial wind chimes.One roll will give you enough to make/repair LOTS of wind chimes.
For these repairs, though, I used clear fishing line and a 2" long yarn needle with a large eye.

I set up on the front porch on a warm summer morning and got to work.

I had a gorgeous view of my 3 barrel fountain with ivy and flowers cascading around. It's just me and the hummingbirds and the butterflies out here. With a little Pandora on my Kindle and a big cup of coffee, it was a wonderful way to start the day.

So, DON'T do this first thing. Yeah, how pretty the shiny rings look against the porch boards! I couldn't believe I did this. Moving on.....

I untangled a surprisingly intact wind chime that we'd made out of flattened and drilled kitchen ware and some light metal rods. I hung it inside this trellis tower and went to work. The top is a soup ladle that the Welding Man drilled to hold everything in a balanced design. He also drilled a hole in the middle to hang the "clapper," which is a spoon. I added more beading to each peace and triple tied the fishing line back and forth thru the mounting holes. One down!

Here is a light and airy metal wind chime that I am surprised is still around. I reattached all the pagoda pieces and the hanging chimes with fishing line. If you are repairing a wind chime, take a close look at how the chimes are attached. The lines for the chimes should not be rigid and should let the pieces swing freely. When in doubt, tap your hanging chime parts and listen for the best tone. You will soon hear the difference that long or short lines make to the sound of your chimes.
Since both of these wind chimes sounded good but still looked beat up, I hit them each with a coat of silver metallic spray paint.

Ooh aah!
The silvery paint made all the metal look just shiny enough and the colored plastic beads are a perfect blue touch. The flatware by itself is not too "chimey" so the addition of the metal rods gave this a beautiful, tinkly tone. I like this so much I think I'll have to make another!

And here is the "pagoda" wind chime after a shot of that silvery metallic spray paint. Pretty and delicate and perfect for a gentle tone when the wind blows.

Here is the largest wind chime, the parts of which you can see scrambled up in that canning kettle. I put it back together with fishing line and the Welding Man made a new "sail" for the bottom out of a scrap of wood and an eye bolt. The metal and wood were grungy so I primed it with white spray paint followed by a good coat of that same silver metallic spray paint. Now this wind chime looks almost brand new!
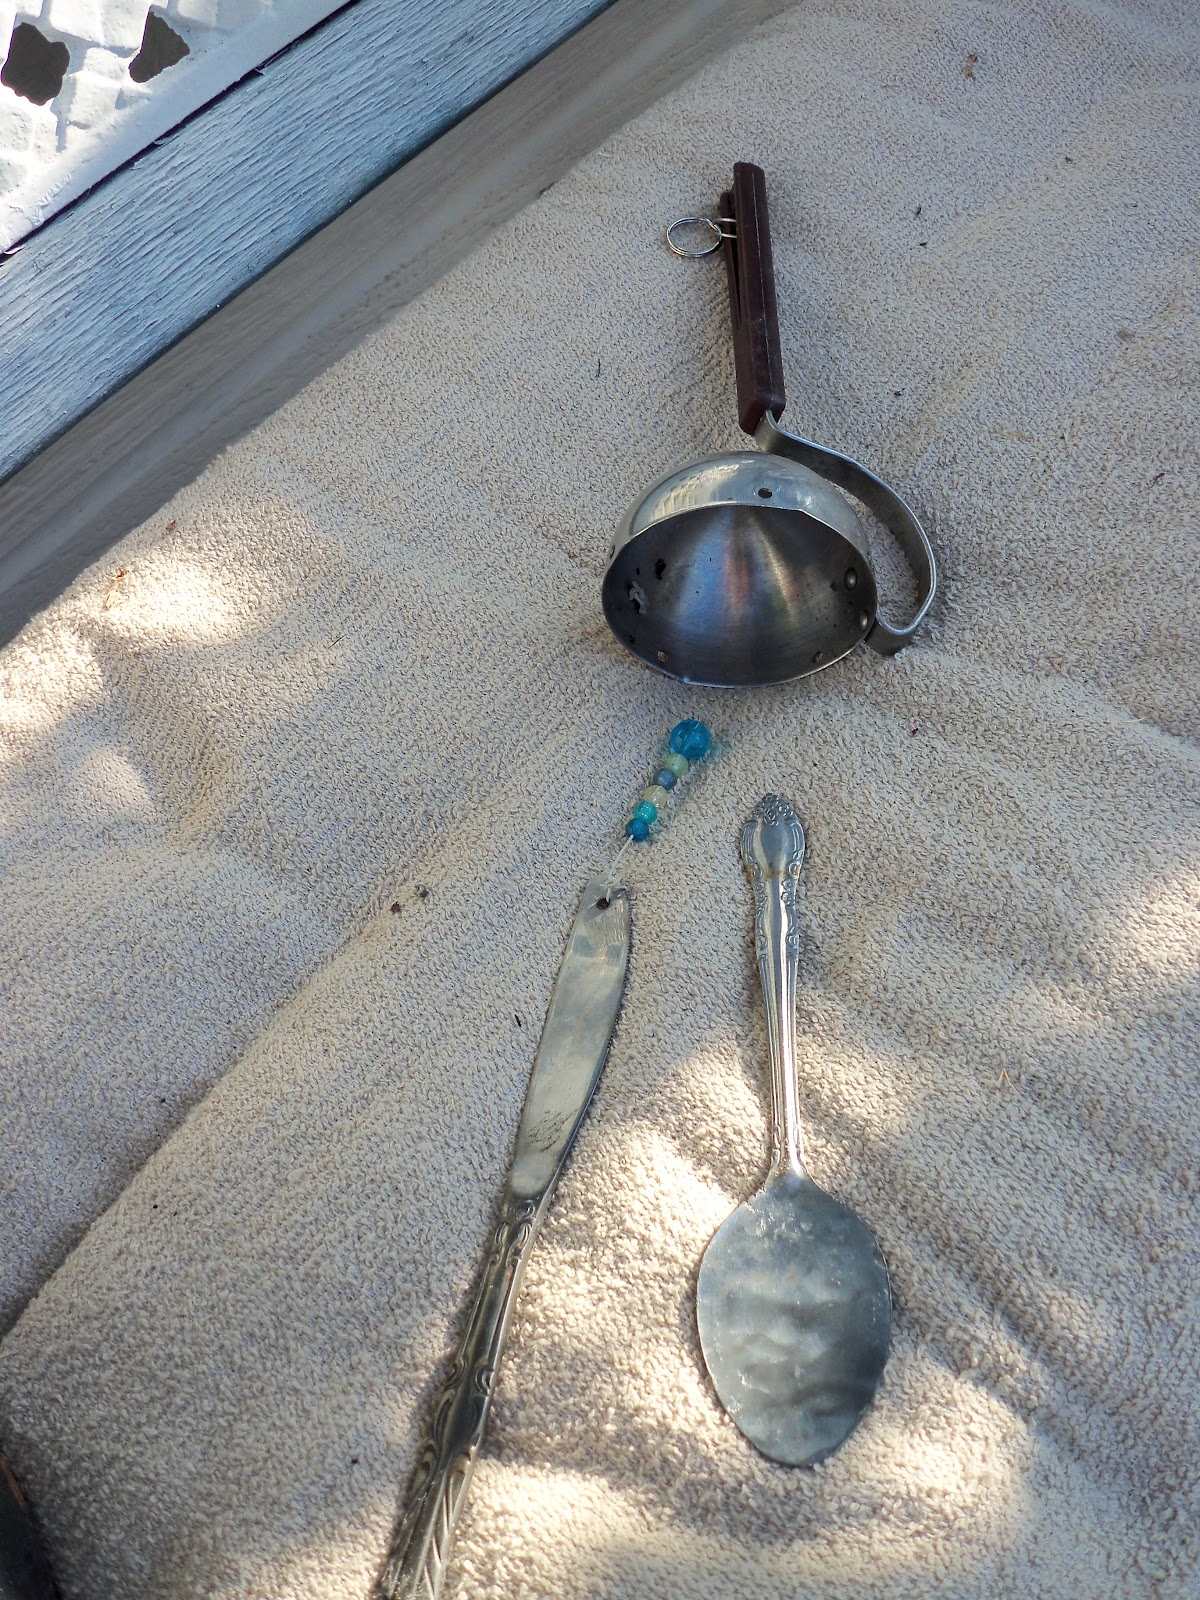
Here's what's left after all the other chimes were put back together. The soup ladle is already drilled and we saved two pieces from an old wind chime. I gave the Welding Man three pieces of yard sale flatware to drill so I can get this chime repaired and hung up. Since I don't have any small metal rods left I am thinking of using some old keys and other metal hardware. I hope it comes out as neat as my mental image!
I'll post pics on my blog if it looks good. And if it doesn't it will just quietly go away, never to be mentioned again. :o)
I'll be joining the parties in my sidebar, come visit and link up. You never know what cool, creative and interesting ideas you will find!