I've been seeing lots of chandeliers made of faux capiz shells out in blogland
with some made out of wax paper, plastic cups, laminated rice paper,
even wax paper mod podged onto parchment paper.
I figured I can do that and so, I did!
I chose a $2 thrist store tabletop lamp for the bookcase in our hallway.

And I love the way this came out!

It has a soft glow, great texture and a bit of movement when you walk by.
Even The Welding Man likes it, he says it reminds him of a wedding dress. :o)

It has a soft glow, great texture and a bit of movement when you walk by.
Even The Welding Man likes it, he says it reminds him of a wedding dress. :o)

I took two lamp shades from my stash and removed the covers. I knew I wanted the rings to be larger at the top and smaller at the bottom. So I wired them together and even added another ring with craft wire secured with florist wire.
What is needed is a sturdy shape with at least two different sized rings to hold your fake shells in layers.
After a coat of white spray paint I flipped it over and got all my fake capiz shell circles ready.

Dollar Store wax paper, baby!!
Next I made the wax paper "shells." I used a dry iron on cotton and put
parchment paper on the bottom between the ironing board and wax paper.
Four sheets torn off close to the same size melt together nicely
and make a good, stiff 4 ply sheet. Let the wax paper cool then start punching.
I found my punches did best with 4 sheets of 4 ply wax paper,
your punch might do better with more or less.
I used a 2" and an 1 3/4" circle punch. I figured I needed about 400 circles total,
plus I cut a few extra in case of mistakes or design changes.

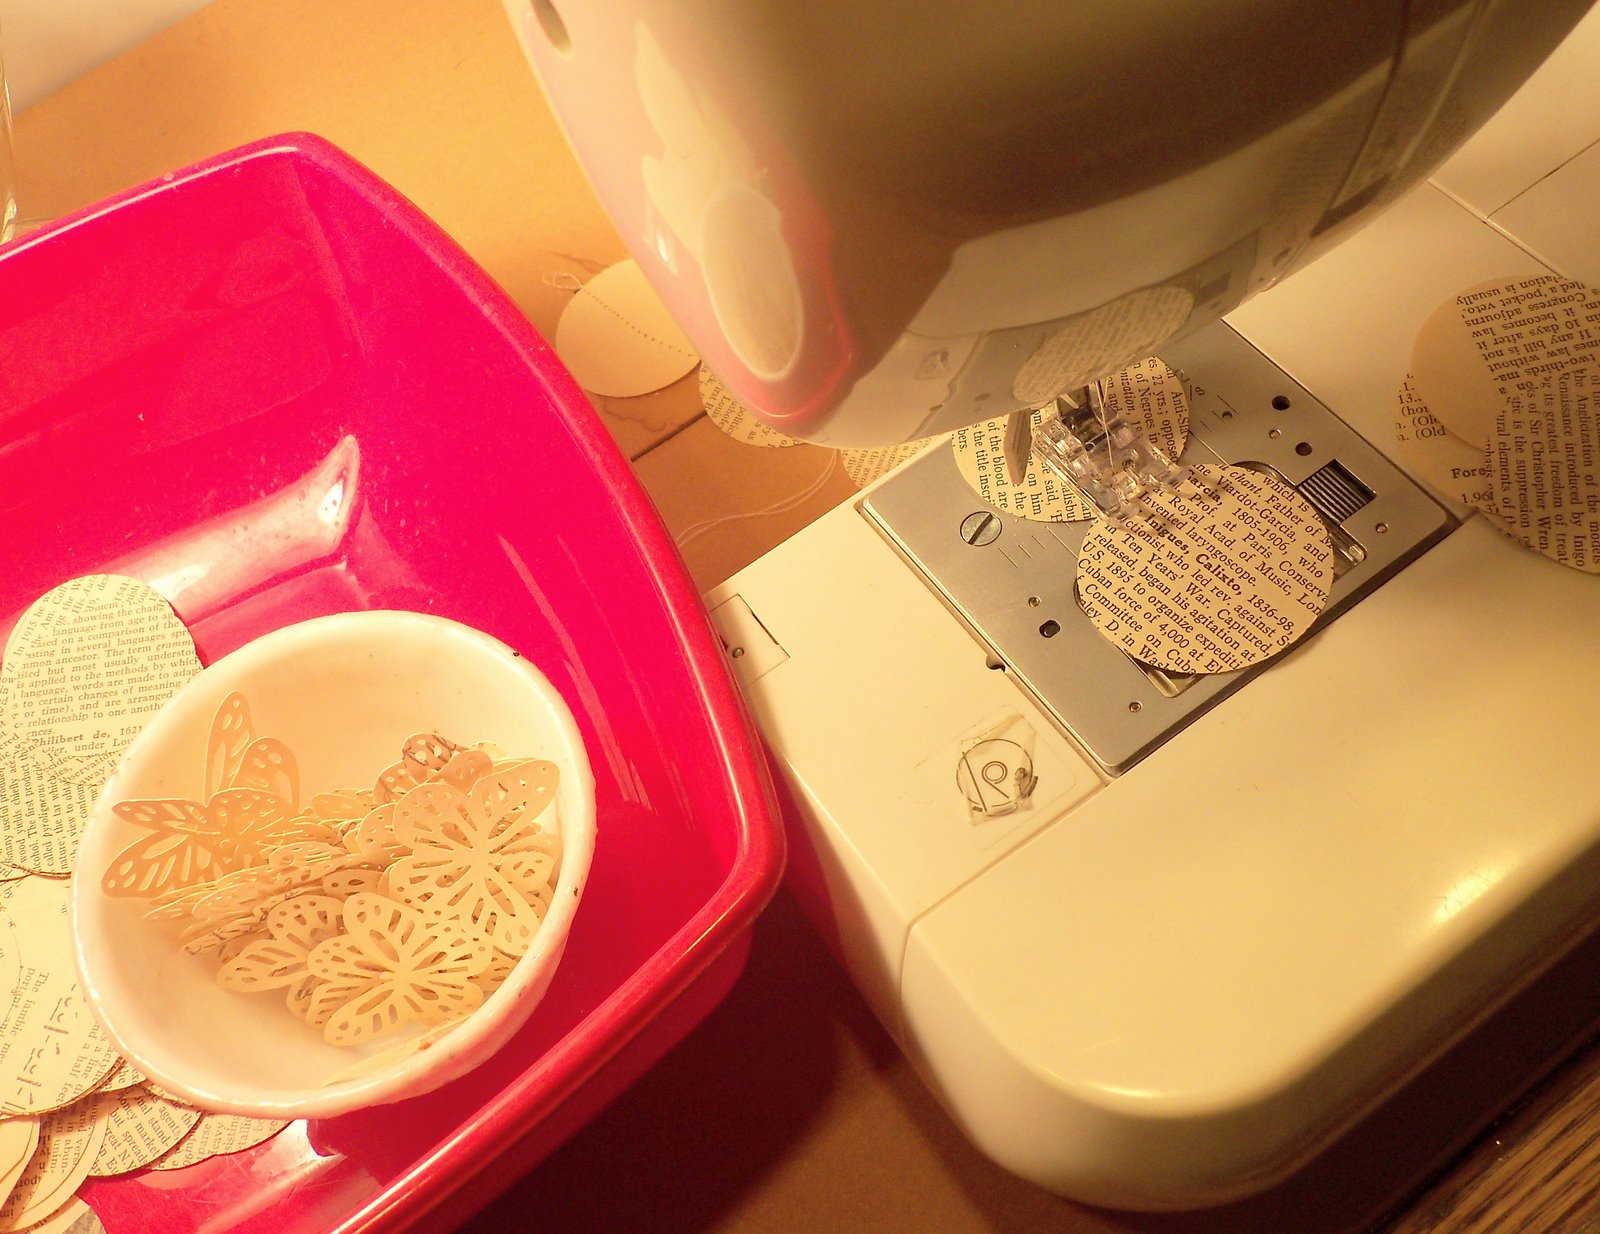
I sewed my circles together using my machine's longest stitch and placed 9 circles on each "run."
I sewed several sets of nine together in a single sitting with about three inches
of thread between each set. I cut them apart into sets
of nine and started assembling.
I sewed several sets of nine together in a single sitting with about three inches
of thread between each set. I cut them apart into sets
of nine and started assembling.

I wound the thread from one set of circles twice around the middle ring and put a dab of hot glue over the thread. I placed each string of circles about 1" apart.
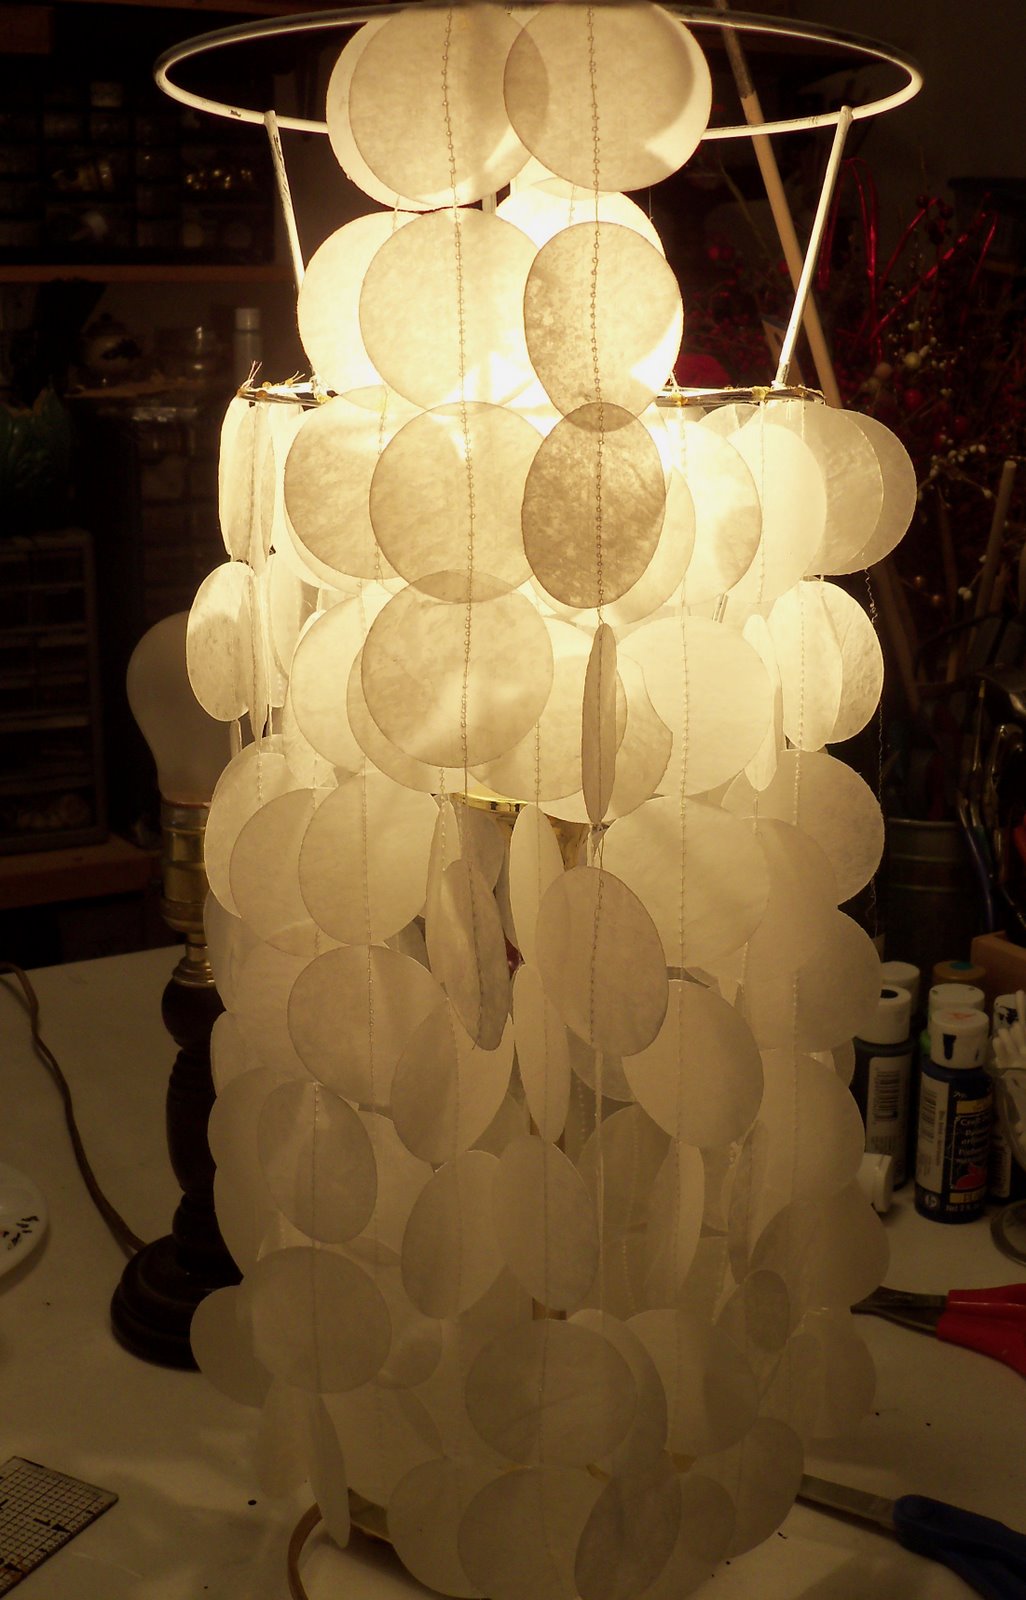
For the top ring I let six of the circles on a string hang down outside
and folded the other three over inside the frame, using a dab of hot glue
on the thread at the top. This gave the upper half of the lamp a fluffier look
and more visual "weight."
and folded the other three over inside the frame, using a dab of hot glue
on the thread at the top. This gave the upper half of the lamp a fluffier look
and more visual "weight."

Extra circles folded in half and hot glued around the upper ring give the lamp a finished look.

As you can see, the stitched circles diffuse the light and overlap nicely, giving a nice soft glow to the evening. During the day they give that corner a bit of reflected light and nice texture.

I am already thinking ahead to doing this with my dining room light. Maybe with a little color and a bit of glitter? When I figure it out and make it I'll be posting right here.