Sunday, April 28, 2019

Save The Books! DIY a Fake Book Box


I saw a project on Pinterest where a crafter cut apart actual good books so she could glue the spines
 to a storage box. She chose the books for the look of their spines.
To be clear, I've cut up and recycled books when they are
 so decrepit that they won't hold together for reading
 but it makes me sad to see readable books destroyed..

BUT,
 truly do like the idea of some nice book themed storage,
so here's what I came up with. And NOT ONE book
was destroyed in the creation of this project!


Ooooh aaaaah!
And here's the best part....I didn't need to buy anything to do this project.
 I already had everything on hand and you probably do, too!

Here's the list of materials you will need-
A good sturdy cardboard box that will fit your shelves.
Inside rolls from gift wrap, paper towels or toilet paper, depending on your box size.
Hot glue
Tissue paper or printed napkins for texture.
Mod Podge.
Craft paint.
Sharpie marker.
Spray sealer.

Cut the cardboard tubes into roughly thirds. Flatten slightly so that they measure about 2" across. These will form your faux book "spines."


Measure the height of your box. In this photo I've covered the box with crumpled tissue and painted it white.

Cut off the flattened tubes to the correct height. At this point start fitting your  spines across the front of your box. Cut some narrower to make the design more interesting or you can keep them all the same size, it is up to you!


Use hot glue to make dimensional stitching and decor across the fake spines. Look at photos of old books for spine ideas.  You can also add other designs with the hot glue, such as  fleur de lis, capital letters or numbers.


Tear the tissue or printed napkins in small pieces and crumple up tightly then smooth out. Spread  Mod Podge on the spines you have made. You can paint the spines or cover them with printed paper as I have done.


Hot glue your finished spines to your chosen box. Remember not to glue them down flat but leave them a bit curved for the realistic book look. Here are two of my book spines glued to the box. As you can see I ended up painting the box black on this side so if it showed between the books it would blend in..

Cover the sides of your faux book storage box with glue and crumpled tissue or printed napkins to match the books on each end. Smooth with a soft brush but not too much, as the crumpled tissue will tear. It will give you a wonderful antique texture so it's worth it. Let dry completely.

I

 Dry brush the edges and spines black contrast color sparingly until you get the look you want. If you get too much on your project just wait for it to dry and do a coat of white over it to tone it down. I was totally going for a vintage look with my books.

You can use the Sharpie to add more details if you wish. 

 Ta da!

Look, you've made a clever storage box for your shelves that looks like you've collected
a set of antique books! You can also choose to make your book box
look like a set of matched books. It is entirely up to you.

Friday, April 19, 2019

Pallet Boards and Nursery Tree Pots = Vintage Style Planters on a Budget!

Gardening season is almost here and I was eagerly looking for some big vintage style wooden planters for my garden.

Dang! Big planters are SPENDY!

So look what we did...


Here's our solution using FREE wood salvaged from pallets and really cheap tree pots from our local nursery.


This 23 gallon planter is 24" across and 14" high. It was only $6 and
 it is plenty big enough for loads of flowers or veggies.

But yikes! It was ugly.


But here it is NOW.

Oooh aaaah!

It has just the perfect vintage vibe I was hoping for!

Look at this lovely FREE wood we salvaged from old pallets. 

We did not have to pull the pallets apart. Some of them were already falling apart and the others we just cut between the support boards. Two old pallets gave us got plenty of lumber pieces long enough for this project. 

Ahem. The Welding Man cut them to length with his big manly saw.

The boards are a mix of fir and cedar and have not been chemically treated, so the sawdust was not a hazard.


For this project we decided to go under the rim around the top of the planter. We laid out a few boards  and marked them before cutting off any of the ends that had nails sticking out.


Laying the planter on its side, we fastened the boards with a slight gap between them at the top because of the angle on the pot. We totally eyeballed the spacing so it isn't perfect. Then we used my favorite power tool of all time...the handy dandy air powered brad nailer.

 Kachunk! LOVE that brad nailer!


Ahhhh! Loving how this project is coming together As you can see the brads are sticking through to the inside of the plastic. The ends are easily bent down by hand or with a pair of pliers. If you cut them off you lose some of the fastening power of the brads and the boards could come loose.


The cost for these two vintage style beauties? $12 total for both of the pots. The pallet wood was free and we already had the tools and the brads.

We didn't even have to sand the boards!


I like them alot! 

Tomorrow I will do a  bit of dry brushing to the boards with the turquoise blue paint from the deck and maybe a bit of white. Don't know yet if I want to paint the black rims at the tops. I'll let you know and post photos if I do.

Don't you love it when an idea becomes a project and it works and it's just so darn CHEAP?


Wednesday, April 3, 2019

I Spray Painted My Outdoor Rug

So...here's my front deck in the middle of the warm weather fix up. I spray painted the plastic chairs a bright turquoise and found a boring tan rug for $20.
Good start.


I figured I could paint that blah rug as so many others have done on Pinterest, Hometalk, Design Sponge, Apartment Therapy....

I thought maybe multicolored stripes....or chevrons...or a pretty paisley stencil...or even FLOWERS!!! 

But what?
All of those ideas require precision measuring, detailed 
placement of yards of painters masking tape and hours of work.

That's enough of that noise. 
I figured I had two, maybe three days of really nice weather 
for this project but no painters tape or pretty stencil.

So today I just went for it.


What I DO HAVE are a 16" pizza cardboard, a Dollar Store plate and a leftover saucer. 

Hmmmm, the idea is coming together.


I also have cheap Walmart paint in flat black and white
 PLUS the bright turquoise spray paint I used on the chairs.


I figured, just do it.
It's a $20 rug. 
At least it won't be boring anymore.

Here's a tip-wipe the edges of the saucer and plate
(or whatever you choose to use) after each spray
 to avoid getting the wet paint from a previous color making
 a "drip ring" on your work.


Hey, I like this alot!


This is not chocolate pudding, ice cream or cake batter. It is craft paint to 
touch up the brown spray paint which disappointed me. 

But hey, I still like the way this rug looks!


No more BORING tan rug!


This was quick and easy and turned out even better than I pictured in my head!

And I didn't have to spend a dime for this project since I had everything I needed already.
I call that a win win!!


Saturday, March 30, 2019

Wax Paper Capiz Shells and a Tabletop Chandelier

Pin ItI LOVE the look of capiz shell chandeliers and lamps but they are always too expensive for my (non existent) decorating budget.
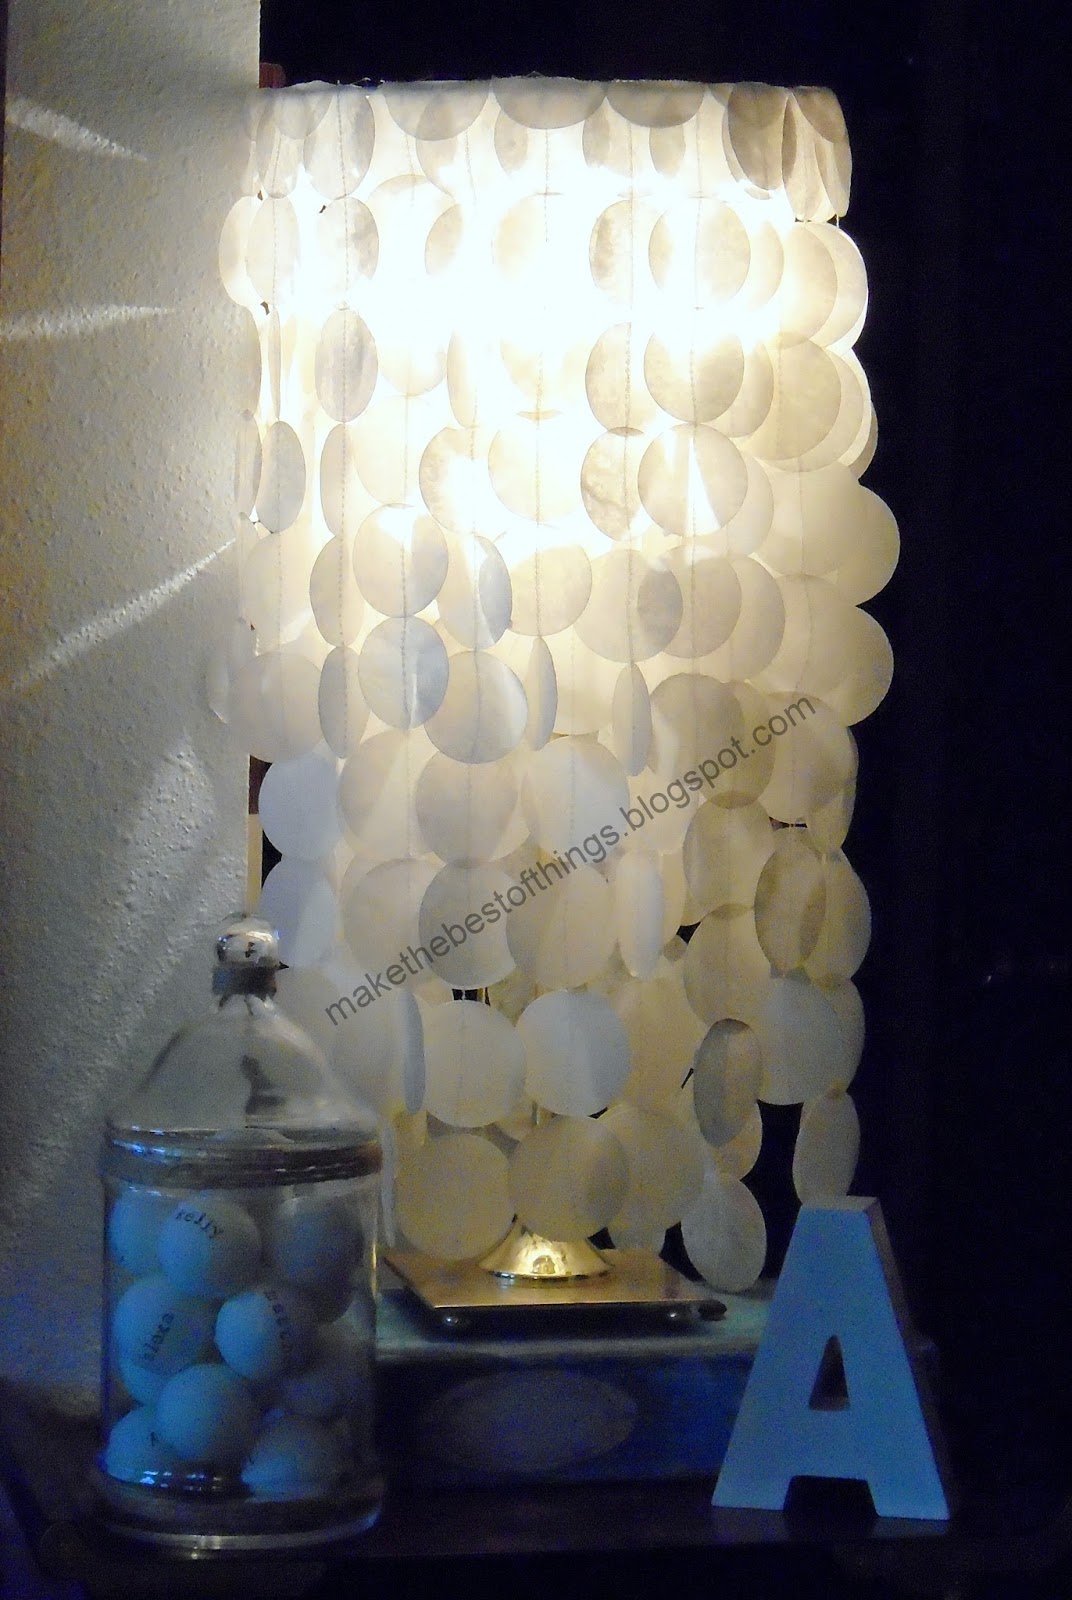
Then I saw some online made of wax paper and
 figured I can do that!

 I chose a tall brass tabletop lamp for the bookcase at the corner of our hallway.


I like it! I like it alot!!


It has a soft glow, great texture and a bit of movement when you walk by.
Even The Welding Man likes it,
he says it reminds him of a wedding dress. :o)


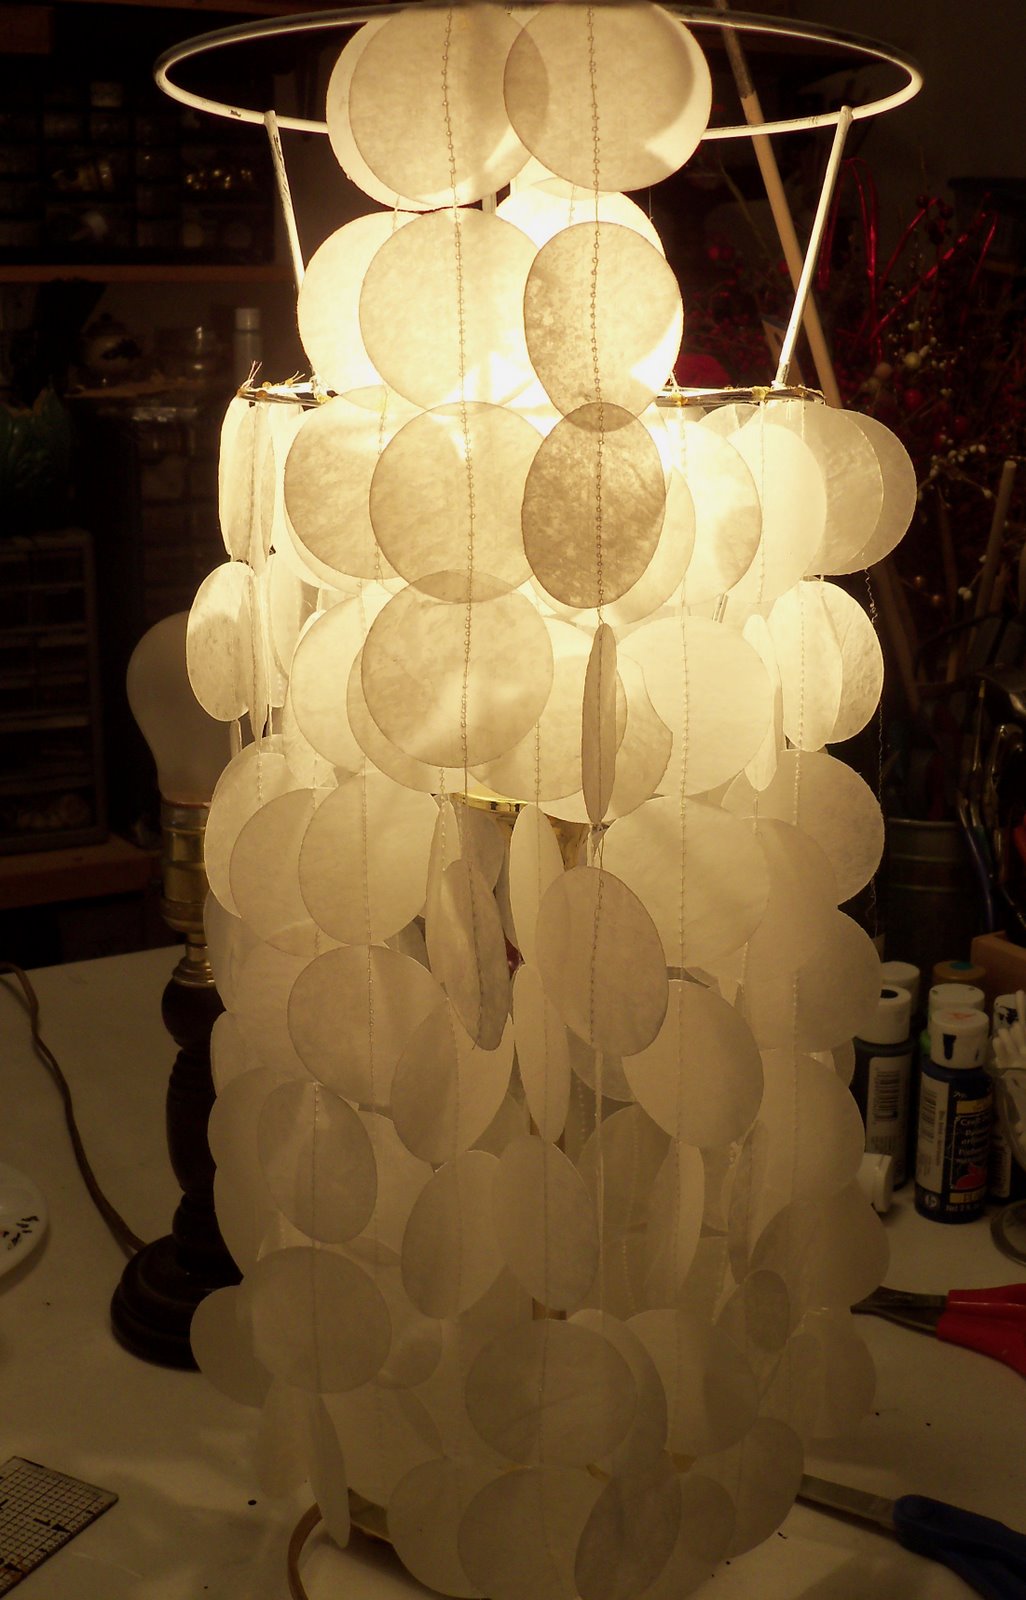
I took a lamp shade from my stash and removed the old cover.
I knew I wanted the rings to be larger at the top and smaller at the bottom.
And I wanted two layers of hanging shells. So I added another ring halfway up
 with craft wire secured with more wire.

After a coat of white spray paint I FLIPPED IT OVER and got all
my fake capiz shell circles ready.


Dollar Store wax paper, baby!!

Next I made the wax paper "shells." I used a dry iron on the cotton setting and put
parchment paper on the bottom between the ironing board and wax paper.

Four sheets torn off close to the same size melt together nicely and make a good, stiff 4 ply sheet.
Let the wax paper cool then start the circle punching. I found my punches did best
 with 4 sheets of 4 ply wax paper, your punch might do better with more or less.

I used a 2" and an 1 3/4" circle punch. I figured I needed about 400 circles total, plus I cut a few extra in case of mistakes or design changes.


I sewed my circles together using my machine's longest stitch and placed 9 circles on each "run."
I sewed several sets of nine together in a single sitting with about three inches
 of thread between each set. I cut them apart into sets of nine and started assembling.


I wound the thread from one set of circles twice around the middle ring and put a dab of hot glue over the thread. I placed each string of circles about 1" apart.


For the top ring I let six of the circles on a string hang down outside and folded the other three over inside the frame, using a dab of hot glue on the thread at the top. This gave the upper half of the lamp a fluffier look and more visual "weight."


Extra circles folded in half and hot glued around the upper ring give the lamp a finished look.


As you can see, the stitched circles diffuse the light and overlap nicely, giving a nice soft glow to the evening. During the day they give that corner a bit of reflected light and nice texture.


I am already thinking ahead to doing this with my dining room light.
Maybe with a little color and a bit of glitter?

When I figure it out and make it I'll be posting right here.
Hmmmm. Stay tuned.


Thursday, March 28, 2019

Part 2 Restyle Old Books into Vintage Style Decor

Here is a row of my restyled books in my bookshelf. They aren't antique collectors' editions, they are all modern hardbacks that I've redone for a vintage look. Please note-no books are destroyed making them over like this. They are all still readable!


In Part One of this post I showed how I decoupaged pretty papers to hardback books using Mod Podge, hot glue and paint. Here's a link...


Here in Part Two I'll show you how to use a cheap and easy crackle technique with Elmer's school glue and craft paint. You can give your books a cool antique look and upstyle your bookcases and decor.


Here is a set of three books redone in black and red and a little bit of gold paint. See how cool they turned out? For these projects you will need hard back books, craft paint, hot glue, Elmer's school glue and paint brushes. You probably already have everything on hand in your stash!


 First, choose your book and paint the whole cover in the base color you want to show under the finished crackle. I used black craft paint on this book, then added fake "stitching" with hot glue. The ruler helps get the "stitching" straight and evenly spaced. Note-It took two more coats of black paint to cover the title on the spine.


Once the craft paint is dry I painted a coat of slightly watered down Elmer's school glue over the whole cover. Dollar Store school glue also works for this technique. Brush the glue on in an even layer then let it dry for a few minutes. For the next step the glue MUST BE TACKY. If it is NOT STICKY the top layer of paint will not crack!


Using a soft bristled brush and long strokes in one direction ONLY, add your top coat in your choice of color of acrylic latex craft paint. Do NOT brush back and forth or dab your paint. Use long even strokes going one way for an even crackle texture to form.

Within a few moments the cracks will start to show. I LOVE watching this part!


Once the crackled paint was dry, I added precut labels to two of my books and a skeleton key to the other. Then I dry brushed black paint over all the edges and the "stitched" spines to bring out the details. I also added gold metallic paint to one label.


Here's another look at the three finished red books. For additional texture on the bottom and top books, I first Mod Podged crinkled up tissue paper before painting the base color, then proceeded with the glue and paint crackling. The dry brushing at the end really highlights the crinkled paper, making it look like old leather.


My livingroom colors are turquoise, red and brown, so these books are PERFECT for making my livingroom pretty and colorful!


My books have never looked this GOOD! I did not spend any money on restyling these books since I had everything on hand in my stash. Mod Podge, hot glue, paint, tissue, Elmer's glue and pre cut labels.

I'm making them in sets of three in different colors and trying them out for wedding decor. We have three family weddings this year and these will look beautiful on the reception tables.


And more...


and even skeleton keys for Halloween!


And last but not least, turquoise with black patterned papers, including damask!


This is a fun and inexpensive way to add beautiful color and texture to your home's decor. Try it, you'll like it!

Book Page Christmas DIY

Most of you have figured out I am a color freak with an obsession  for turquoise, red and cobalt blue.  However, I also obsess about ...