Thursday, April 16, 2020

Spray Paint That Porch Rug!

Soooo....here's the start of our front desk fix up. 
Good colors, structure and the furniture is all usable for another season. 

But what the heck to do with that boring beige outdoor rug?


As usual, I wanted quick, pretty and easy.

 I have flowers to plant!!


And here's my solution....

SPRAY PAINT THAT RUG!


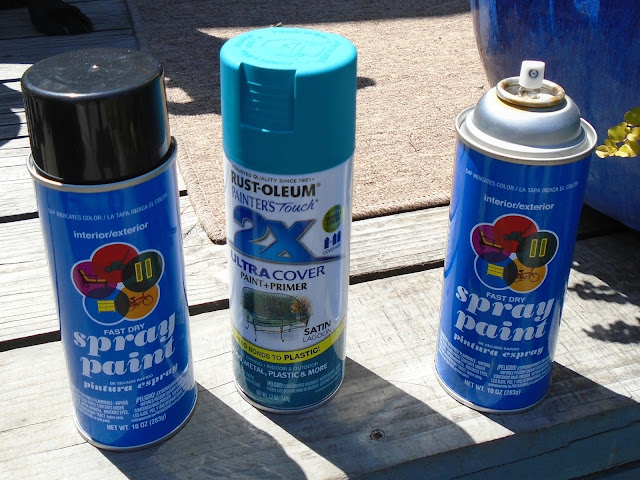
I had spray paint in black, turquoise and white on hand. I also added a nice leather brown color.

     I looked around for different round shapes to use as stencils and
 ended up with a pizza cardboard, pie plate and saucer.


Simple simple! Spray several light coats until you
 have the color you want.

 This also avoids DRIPS.


Ta da!


Sunshine or shade, the colors really POP.


This is a super simple and super pretty solution to that boring deck rug.
 I will do it again when we replace this rug in another summer.

 It makes me smile!

Tuesday, April 7, 2020

I love a man who welds

Or maybe I should put that a different way.....I love a man, and he welds!! My husband has mad blue collar skills and has always been a hands on kind of guy so I've been the very very lucky person he makes things for. Hey, he makes things for other people, too, but I get the best of things on this deal.

He built this wedding arch which we used for the centerpiece of my sister's wedding. It has lovely scrolled heart designs up both sides. Now it stands at the bottom of our stairs to support this climbing rose.


He also built custom iron railings for our decks and stairs. He used to do this for a living, so this was easy peasy for him. I looked around our yard and started making a list.....he just "loves" it when I get out my handy dandy spiral notebooks full of notes and drawings. Usually I have an idea, he tweaks it to make it work, I show him what is important to me, he shows me what he can do to incorporate that.....yeah, he loves to see me carrying that spiral notebook around the house!! Lol!


BTW. my grandson trimmed this ivy for us before it took over the entire walkway. Did you know that needlepoint ivy doesn't stay small and delicate? That it gets voracious like the plant in Little Shop of Horrors? Well, it's trimmed for now but it will be back. Feed me, Seymour!


I needed/wanted (you know how that goes) a large heart topiary frame for the ivy in this planter.....okay, done. Then I told him the middle looked empty and since he had that nifty plasma cutter in his shop could he cut out this fairy silhouette? Which I just happen to have right here in my hand blown up to full size and drawn on this handy dandy piece of poster board?

The catmint in this planter is nice and lush but I needed/wanted some way to layer another pot on top for a bit of height and prettiness. Now this plant stacker ring holds a gorgeous pot of pampered flowers every year. I like it. I like it alot!

This is a short obelisk he built for the honeysuckle which threatened to climb over the fence. It's gorgeous, one of my favorite pieces, but that honeysuckle is going to take over we think!


Here are some of the other trellises which will go in the tomato planters on the deck, when we plant them. We had frost last week so we're really holding back.


Now here's a design which I hoped would be the most gorgeous candle stand in the world. We figured out a design on paper for a design that spirals up almost four feet within a one foot square base. It came out exactly like we planned. I put 8 chunky candles on there and lit it up after dark. IT LOOKED WONDERFUL! And then, the wind blew the candles out. We live on the side of a mountain, so evening breezes are a fact of life. Okay, so here come the short glass hurricanes. Nope. Tall glass hurricanes.......nah, the wind must not like our candle holder! No matter what we did we couldn't keep the candles lit on this thing unless we moved it inside....but 8 chunky candles within a foot square base put off ALOT OF HEAT, which is not safe for 8 foot ceilings. So, smaller candles it is, when we use it inside. Sigh.

But here is what I've done with it when I'm not pouting about the candle fiasco....I made 8 glass marble balls out of Christmas balls and use them on that sucker. They look great all year long and are pretty and colorful display on the deck all spring and summer. And in the wintertime......


This is the picture we take and email out to the family when it snows here. A pretty and graphic depiction of cold winter weather.

And this? This is all his idea, my spiral notebook didn't come into play at all. It is a 5 foot square star which we light up for the holiday season plus special family occasions. It sits out on the huge boulder which juts out from our yard and can be seen for miles up the highway, which is about 200 feet below. The open design means the pesky wind can't push it around or over, and when it's lit up on a foggy, misty night it looks positively ethereal floating up there.

And in the wintertime, it is just flat out gorgeous lit up at night with the snow reflecting the twinkly lights. Makes me smile.

And so, my tale of my welding husband is almost through except for the next chapter. He's teaching/insisting on me learning to weld! I've only done it a little so far and I jump every time I strike a spark with the gun for his wire welder, but I've managed to weld two things together and also learned how to operate the plasma cutter. He says I have a knack for it.....but I also think he's got an idea of ending the "tyranny of the spiral notebook." What do you think? Would a husband be that devious? Nah.

Sunday, April 5, 2020

DIY These HUGE Flowers Like We Did For a Wedding

We made this beautiful backdrop for my grand daughter's wedding. Except for the hanging lanterns, we totally DIYed the vintage style doors, the hanging garlands, the petunias and geraniums in the urn planters and these luscious HUGE paper flowers for her decor.

Everything turned out AWESOME!!!


Here's a link to the door project...

http://makethebestofthings.blogspot.com/2014/06/gorgeous-wedding-doors-are-pinterest-win.html

Thanks to Pinterest, the bride had loads of ideas for her wedding and she chose these stylish flowers for a decorative highlight.


So during the course of one weekend, her mama, Insanely Creative Christy, gathered all her paper crafting wits and supplies and made these gorgeous oversize flowers. She looked at the photos and figured out just what she needed to do to make each style. 


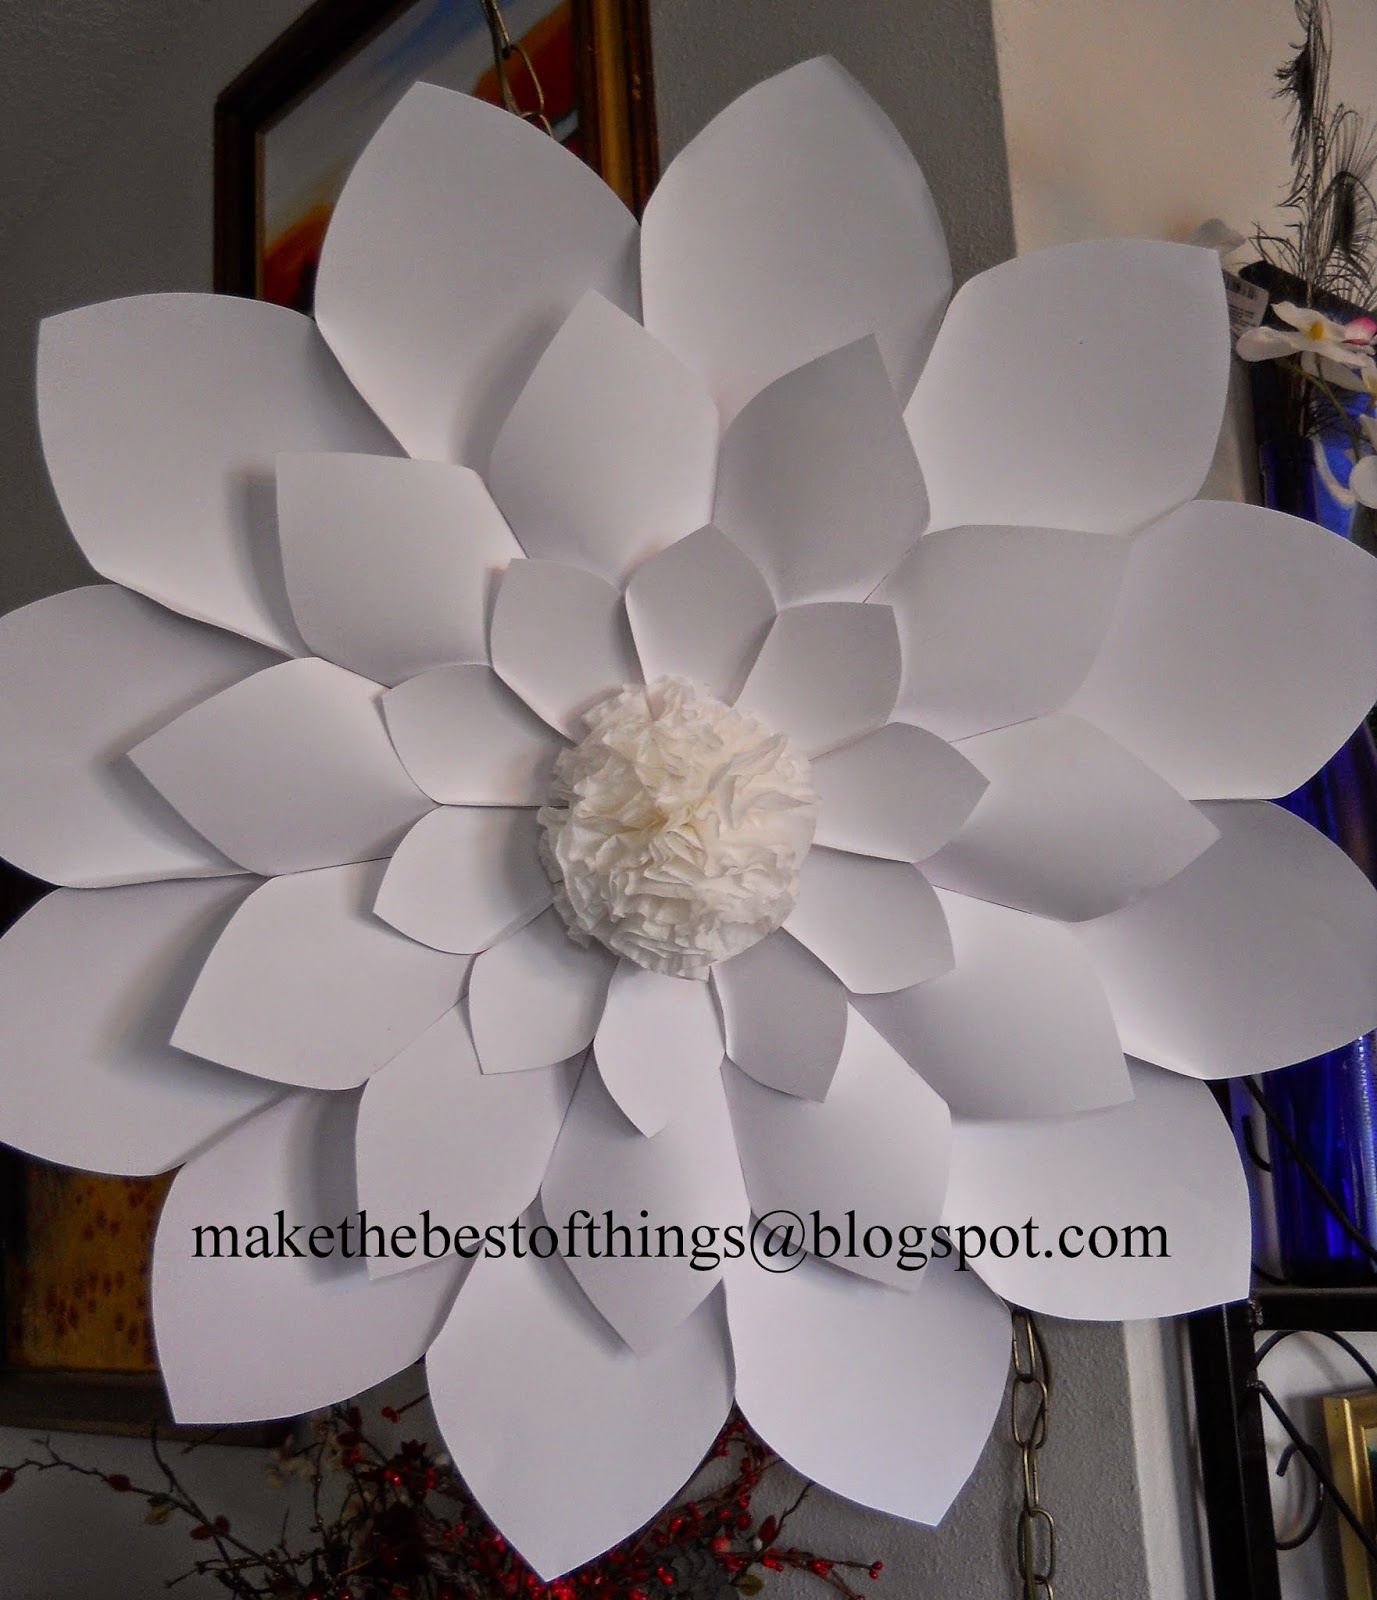
These flowers are seriously HUGE, folks. This one is 30" across! She made them all with small paper plates for the centers and built out from there. This flower is made of poster board, coffee filters and copy paper. She used hot glue and a stapler.


The edges are curled with a bit of dowel. What a neat detail!


Here is the humongous rose. Did you notice that it looks a bit pink? Who knew that poster boards from different stores weren't the same shade of white? Now you know!

Here is the spikey chrysanthemum both during and the final. Again, the center is coffee filters and cut copy paper, with some curled tightly in the middle.


 Here is a peony style with folded, fringed poster board in the middle and the middle petals curled inward.


Another peony style with that pinkish poster board. She added beaded accents to the center of folded copy paper.


Here are the first three flowers hung together. See how the paper she used has different shades of white? We liked that sweet serendipity!


We hung them in my living room before the wedding to keep them out of harms way. They looked wonderful! By the time she was done she made a dozen blooms, all of them beautiful. The smaller ones were made of tissue and cardstock.


To hang them up we simply stapled through the back petals directly onto the wooden doors. Draped paper circle garlands gave the design a bit of movement and flow. We just LOVE how this came out!


Coming up next....what do you do with huge paper flowers like these after the wedding? We don't want to trash them and they do take a bit of space. So for now I've put them here in my master bedroom. Soon they will be props for my daughter's photography business. They will be here for a bit in a "flower cloud" above our bed, according to The Welding Man.


And again I say, "Oooh aaah!"


Saturday, March 28, 2020

Book Painting For My Livingroom


My living room was looking winter dark and dreary so I decided to lighten up all my decor, 
starting with this bookcase painting in my favorite blues, reds, golds and greens.


I found a big blank thrift store canvas for the win. Three dollars!!

I Mod Podged old dictionary pages over the whole thing.


I drafted in the design and started the base book paintings.
I crackle painted several books on each shelf with Elmer's glue and craft paint.
It's an easy DIY and looks awesome!
I blogged about it here...


Then comes lots of details and dry brushing and even some gel markers.


And I added one of my garden orbs since they are kind of my "thing."


I really like the new, lighter, colorful way my livingroom is headed.
 I am sure there are more projects in store. 

Thanks for stopping by!


Wednesday, March 25, 2020

Love My Penny Island Project!

Way back when, we turned two of our old nightstands into this wonderfully useful kitchen island. 
It is still one of my favorite projects for our home!


Originally I used old cook book pages on top in the same hue as the floor and
 sealed them with a single coat of "bar top" resin. It looked great and held up
 for several years. BUT we should have sealed it with more resin. 
The edges started to peel and we knew it was time to replace it.

And here's what we did....


Yup, we put a penny top on our kitchen island and it came out 
AWESOME!


We like it!
We like it ALOT!


Oooh aaaah!


Here's a before and after. What a pretty solution!

I did NOT want to buy pennies so I scrounged up all our stashed pennies and saved
even more for months. Then I chose to clean and polish them using Brasso.

While watching "The West Wing" on Netflix.


It took about 12 hours total so do this part of the job. Would I do it again? 
Yes. 
Would I buy at least a few rolls of new pennies for my next project? 
YES. Lesson learned.


We had the boards in our stash, so I stained them using Minwax Polyshades in Maple. 
It is a stain and sealer in one. It was also in our stash.
I scuffed up the old cookbook top with sandpaper then painted it with flat black craft paint.
It makes the coins really pop against that dark background.
We did not glue the pennies down and we did not put them in any pattern.
               

Envirotex Lite is an improvement on the original formula we used over 5 years ago. 
It isn't smelly, it sets up fast and looks fantastic when you're done.
 I used a 50% off coupon and got it for less than $20.
Win win!


The light coming through our skylight during the day really brings 
out the many different hues of the coins.  As the light changes, the metallic colors change.
We love it!


                       THIS time we used triple the amount of resin to give a deep and shiny finish.
It's been a couple of weeks and I'm still being careful setting heavy containers on top.
And we will ALWAYS use trivets and pads for anything hot. 
It is just good sense.


And when the sun goes down and hits those shiny pennies the light is just dazzling!


We are very pleased with the way this project came out. The most time consuming 
part was polishing pennies. Would we do it again? 
Yes!
I'm thinking.....backsplash!

There are so very many penny projects online that I did not go into alot of detail here. If you want to tackle this project I say do your research, gather your supplies and GO! 
Even if you bought everything at full price and new, this is not an expensive project.
Try it!


Book Page Christmas DIY

Most of you have figured out I am a color freak with an obsession  for turquoise, red and cobalt blue.  However, I also obsess about ...