Friday, September 19, 2014

Quick Change Wreath Decor

I had this idea to make wreath decor that was easy to change out on different kinds of wreaths and didn't require loads and loads of hot glue to hold them on.

Here's what I came up with.


I crashed my stash and found all kinds of colorful, glittery Autumn leaves, berries and twigs. Most of them are from the Dollar Store. That's a good start!


I wanted the backing to be sturdy enough to hold all the elements but also lightweight and thin enough so the design would blend with the types of wreaths I want to decorate. The Mountain Dew box was just the right weight. I hot glued all the leaves and rosettes and berries in place on the front then attached florist wire through several holes in the cardboard on the back. 


Voila! A pretty arch of autumn colors and elements ready to go on a wreath form. I added the glittered coppery butterfly for a perfect pop of shine.


Here it is on my coffee filter wreath. It looks great! I made the wreath with white coffee filters hot glued to a basic twig wreath. Even unadorned it is pretty but this added flair is just gorgeous!


And here is the same spray on a burlap wreath I made. Presto, change-o in just a few seconds! Wow, this is working out better than I'd hoped! I made the burlap wreath using hot glue on a straw wreath form. The mix of the plain burlap and the colorful arrangement really pops!


And here is a spray on a plain old twig wreath. The fancy and the plain really look good together. Again, it took mere seconds to switch from one wreath to another!


And here it is on a tan coffee filter wreath that I made using a Dollar Store hula hoop as a base. I really LOVE how this looks all together! Not only does it look good it is super simple to change over from one wreath to another. I think it would even look good over a round mirror for a neat accent!

I'm thinking of doing another arrangement with black and purple spray painted leaves for Halloween and then, of course, another one for Christmas. Those will both be fun projects, I'm looking forward to them!

Come link up at these parties and join the fun.


Painted Decor Balls For My Coffee Table

I wrote previously about repainting my vintage/ancient 80s coffee table to coordinate with the new color scheme in my living room. Namely, the addition of turquoise blue. Here's the link....


I knew I wanted something something to put on the newly painted table to draw the eye. After checking out my stash and using a bit of paint I made some new decor for my living room, for FREE! 


I have lots of stuff stored away for projects and I had these resin decor balls in a box. I got them at a thrift store but I still see new ones for sale at Michael's, Ross, Pier 1 and other stores. They were originally a combo of bronze, brown and gold, not what I wanted at all.


Oops! Got a little ahead of the camera action there! I brushed on a scant layer of Apple Barrel acrylic paint in turquoise for this pair.


I totally adore the way the color picks out the detail in these decor balls! I painted the last ball (which was mostly antiqued gold) with Apple Barrel bright red. Then I wiped off some of the color on all three balls while the paint was still wet. This gave me the vintage vibe I was going for.


And last, to make them look even more aged, I finished them with a top coat of Poly Shades in classic oak. This is a stain and sealer in one and it adds just the right amber glow to these decor balls. Use this in a well ventilated space per the label instructions!


 I always buy footed wooden bowls whenever I find them at thrift stores or yard sales, so I knew I had this perfect container for my new old decor balls. I dry brushed the wood with more turquoise paint and wiped it off for a vintage look. Then I sealed it with the Polyshades. I LOVE how it makes the painted piece look instantly old!
Although it would be nice to go out and spend lots of dollars to get a new look in my home, I usually end up doing just this...changing up my decor with paint and stain and things I already have. And the best part? I can do it again and again and it is FREE!


 Ooooh aaaaah!

If I ever decide to go all white with my decor I know I can redo this table and these balls for a bit of decor punch. I love that! Join me at these fun linky parties. You'll find some very cool things!

                            http://www.funkyjunkinteriors.net/2014/09/salvaged-old-signs.html

Colorful Painted Coffee Table Project

Several years ago when I slipcovered our long couch in chocolate brown, I painted the top of our coffee table to tie together all the colors in the room...namely reds, golds, browns and greens. First I used Kilz primer on the top then painted an abstract design with craft paint. I love that pop of color in our livingroom!

This table was a $7 auction find decades ago and it has served us very very well.


Here is the original cubist abstract design. After painting the colorful top and dry brushing with burnt umber I aged it with walnut Polyshades, which is a stain and sealer in one. It gave the colors just the right vintage patina that I was aiming for.


 In our new home the brown couch and some of the artwork has remained and I've added turquoise blue to my living room mix. I knew it was time to update that coffee table!

I carefully sanded then painted every shape that was formerly green with Apple Barrel turquoise. Then I aged each piece with burnt umber paint and finished it off with walnut Polyshades.


I aged it a bit more to tone down the turquoise and here's how it looks now.


The blues still need further aging but I love how it looks with the red and blue pillows on the couch!


Of course I wanted some turquoise and red decor for the "new" coffee table. I'll post about that right here....

http://makethebestofthings.blogspot.com/2014/09/painted-decor-balls-for-my-coffee-table.html

And I'll be joining these linky parties and sharing. Come and visit!

http://www.funkyjunkinteriors.net/2014/09/salvaged-old-signs.html

Make a Grungy Primitive Pumpkin for Halloween

 I make almost all the accessories for my Halloween witch dolls and their pumpkins are no exception. I cannot find exactly the right primitive looking Jack o' Lanterns for my projects so I make them. 

Say what?


Yup, this grungy little guy is handmade. All it takes is a styrofoam ball, tissue paper, mod podge or white glue, craft paint and a stick for the stem. Here is how!


Start with a round styro ball. Smoosh it down with slow, even pressure to make slight flat spots on top and bottom. Then use the tip of a skewer or skinny paint brush to score in some seams.


Use the tip of a craft knife, x acto blade or even a steak knife to cut the eyes, nose and mouth holes.


Coat the whole ball with mod podge or white glue. Stick it on a skewer or the handle of a paint brush for the next part.


Tear your tissue paper in small pieces, less than 1" square. While the pumpkin is still wet lay the paper pieces carefully over the whole ball, using a soft skinny paint brush to gently coax it into all the crevices. This smooths out the surface so your pumpkins looks pumpkiny and not styrofoamy. 

;o)


After the tissue layer is dry paint your pumpkin with bright orange craft paint.


 Once the first layer of paint is dry, go over all your crevices and holes with a q tip dipped in brown paint. Get it in there and don't worry about being neat about it because the next thing you are going to do is use a clean q tip to remove the excess brown paint. The brown paint in all the crevices will make your carving details POP.


Poke a hole in the top and hot glue a short stick in for a stem.


Next, use another q tip with black paint and get it deep into your carved face crevices. See how delightfully prim and creepy this makes your pumpkin look? 


I hot glued a tiny silk leaf to the stem and put him in a miniature basket. I LOVE it!

You can make this prim pumpkin out of bigger styrofoam balls, too. Next I will try to make some primitive grungy skulls out of egg shaped styrofoam. That should be fun!

 This would be a fun craft for kids with proper supervision. The  neat thing about primitive pumpkins is that they never have to look perfect. Have fun with it!

Saturday, July 26, 2014

DIY Apothecary Jar Solar Light

I've seen dozens of solar lights made out of mason jars. You can even buy kits now with all the items needed to make them. I got to thinking what works for mason jars has to work for other jars just as easily and some other jars are prettier, too!

Like this thrift store apothecary jar.


I made this as a gift for a summer birthday awhile back. It was a big hit and it couldn't have been simpler to do! First of all  find a jar with a glass lid that will be the approximate size, or larger, of the top part of an inexpensive $1 solar light like the one below. 


In this case the inexpensive solar light is 2" across and the glass lid for the jar I chose is just a bit bigger.


I did a dry run with the solar light and the lid using toothpicks for spacers on three sides. I left it outside for 24 hours and it lit up nicely!


I hot glued Dollar Store twine around the neck of the jar.


I also hot glued a strip of textured wall paper around the solar light and painted the flat top around the solar cell to blend into the twine and the wallpaper. See how well the solar light is hidden inside the jar lid? I also cut off the clear plastic collar at the bottom of the light with a dremel tool.


I hot glued the refurbished light inside the lid. Since the lid protects the hot glue from the weather it works well for this project. The wallpaper wrap makes it a snug fit so I didn't need to use the toothpick shims.


I added a cork and bead pendant tied with more twine then put a few sea shells, cork slices and sea glass in the bottom of the jar. Here it is lit up inside my house as the sun went down. Pretty!


Here are a few other thrift store jars that would work really well for this project.


They must have a glass lid so the solar light can charge and be big enough for the light to fit inside the lid. You can use hot glue to attach the light to the inside of the top of the lid or E6000 glass adhesive for a really good bond. 


Solar jar lanterns couldn't be easier to make and they are so very very pretty on a summer night!


Huge Flowers for a Boho Wedding


We made this beautiful backdrop for my grand daughter's wedding. Except for the hanging lanterns, we totally DIYed the vintage style doors, the hanging garlands, the petunias and geraniums in the urn planters and these luscious HUGE paper flowers for her decor.

Everything turned out AWESOME!!!


Here's a link to the door project...

http://makethebestofthings.blogspot.com/2014/06/gorgeous-wedding-doors-are-pinterest-win.html

Thanks to Pinterest, the bride had loads of ideas for her wedding and she chose these stylish flowers for a decorative highlight.


So during the course of one weekend, her mama, Insanely Creative Christy, gathered all her paper crafting wits and supplies and made these gorgeous oversize flowers. She looked at the photos and figured out just what she needed to do to make each style. 


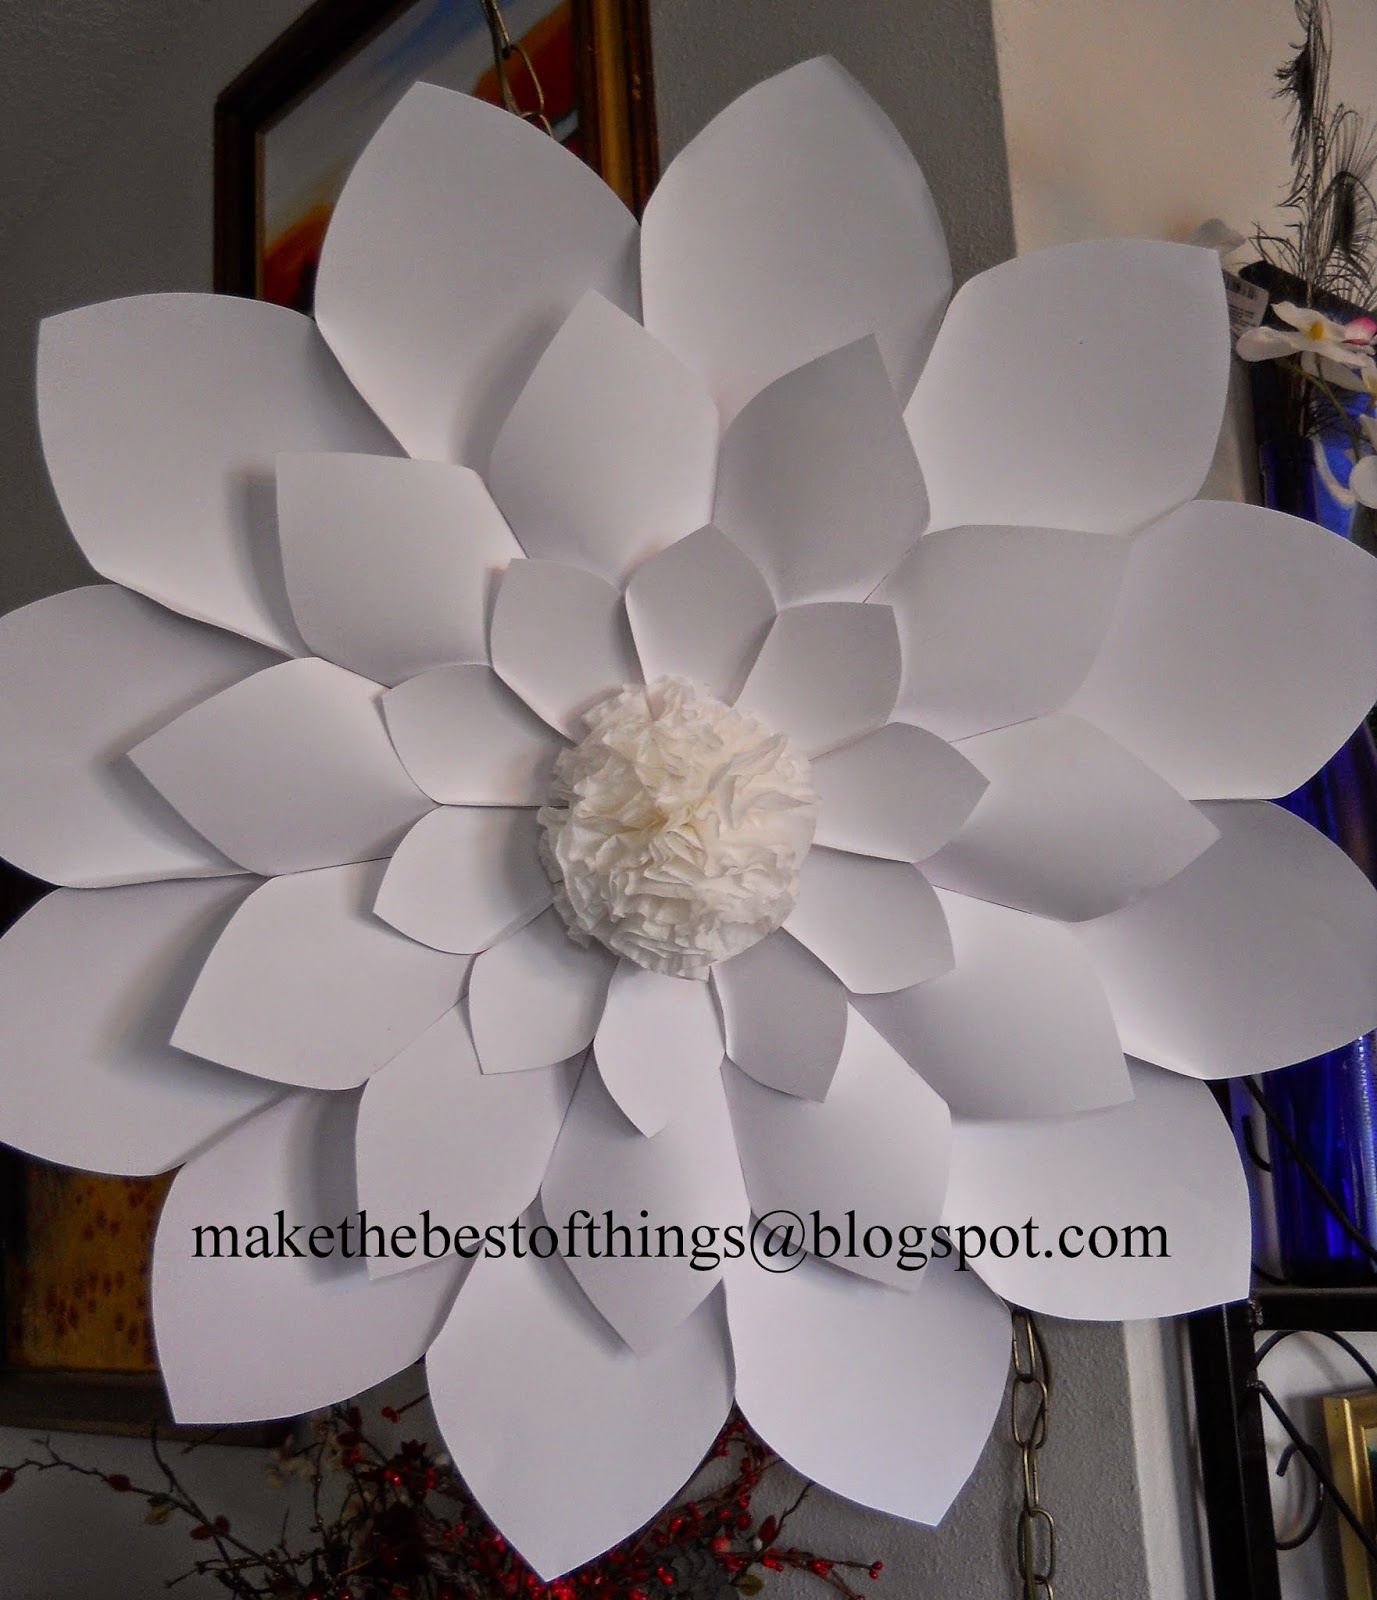
These flowers are seriously HUGE, folks. This one is 30" across! She made them all with small paper plates for the centers and built out from there. This flower is made of poster board, coffee filters and copy paper. She used hot glue and a stapler.


The edges are curled with a bit of dowel. What a neat detail!


Here is the humongous rose. Did you notice that it looks a bit pink? Who knew that poster boards from different stores weren't the same shade of white? Now you know!

Here is the spikey chrysanthemum both during and the final. Again, the center is coffee filters and cut copy paper, with some curled tightly in the middle.


 Here is a peony style with folded, fringed poster board in the middle and the middle petals curled inward.


Another peony style with that pinkish poster board. She added beaded accents to the center of folded copy paper.


Here are the first three flowers hung together. See how the paper she used has different shades of white? We liked that sweet serendipity!


We hung them in my living room before the wedding to keep them out of harms way. They looked wonderful! By the time she was done she made a dozen blooms, all of them beautiful. The smaller ones were made of tissue and cardstock.


To hang them up we simply stapled through the back petals directly onto the wooden doors. Draped paper circle garlands gave the design a bit of movement and flow. We just LOVE how this came out!


Coming up next....what do you do with huge paper flowers like these after the wedding? We don't want to trash them and they do take a bit of space. So for now I've put them here in my master bedroom. Soon they will be props for my daughter's photography business. They will be here for a bit in a "flower cloud" above our bed, according to The Welding Man.


And again I say, "Oooh aaah!"

Come join me at these Linky Parties this week. So many neat ideas out in blogland!

http://akadesign.ca/the-weekend-re-treat-link-party-78/

Book Page Christmas DIY

Most of you have figured out I am a color freak with an obsession  for turquoise, red and cobalt blue.  However, I also obsess about ...